Search
Items tagged with: tailoring
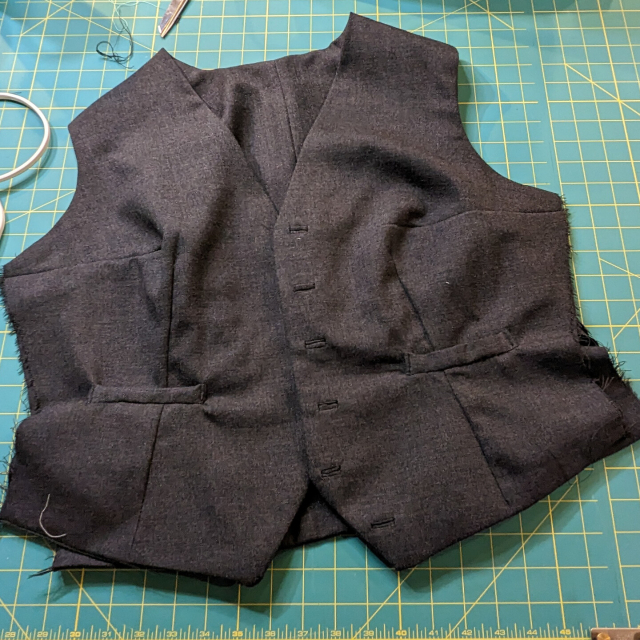
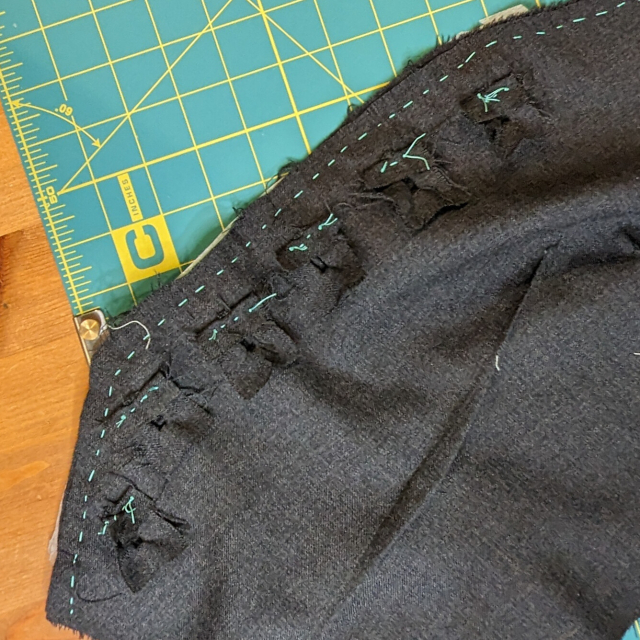
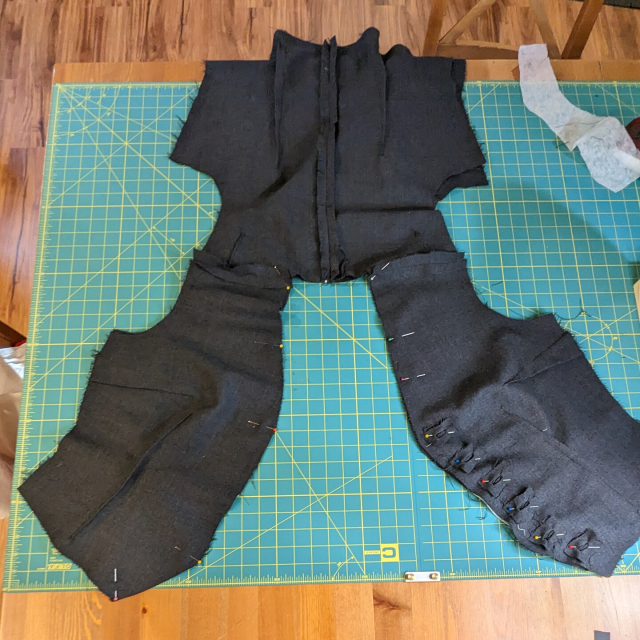
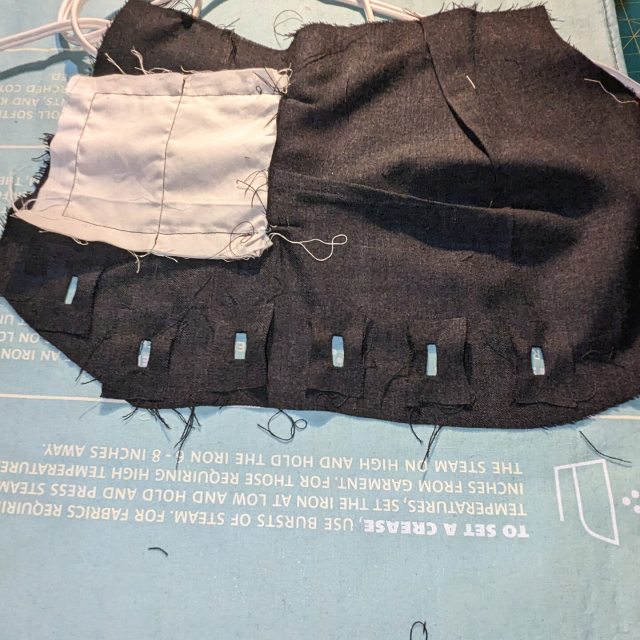
So I had to step away to run some errands (there were girl scout cookies at the farmer's market, which I'm sure you all understand was a situation requiring my prompt attention). Back at the table now. Here's the waistcoat, basted and ironed.
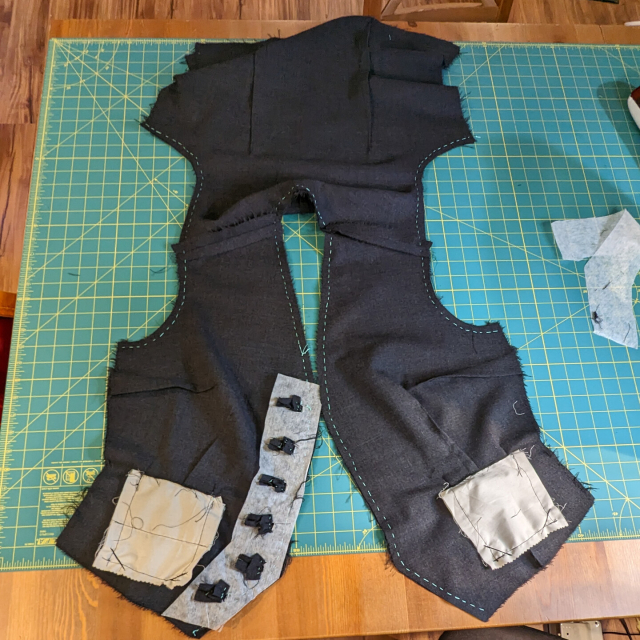
I tacked the button holes to their counterparts with the button hole linings folded out of the way, so they won't get caught in the stitching.
Time to sew.
Yesterday, I used the stretch to convert a dart, easing 3/4" of fabric into a smooth seam.
When I stitch the lapels and armholes, however, the pieces are the same length, and I want them to stay the same length. I do not want the layers moving around because one side is stretching more than the other (and the way machine stitching works, one side is very likely to stretch more than the other).
So I baste to keep everything stable and aligned. #Sewing #Tailoring
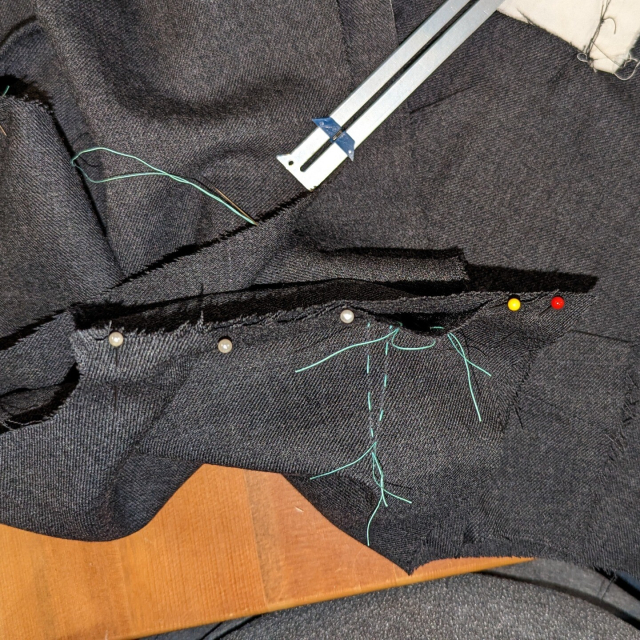
Conversion time. First, I pin the back shoulder to the front shoulder, right sides together. I leave the area around the dart (about 3x as wide as the dart) open.
You can see how the extra fullness creates a gap. If I just ran it through the sewing machine like this I'd end up with tucks in the seam (and I'd break a needle. Don't put pins through your machine).
I'm going to nerd out about this. Welcome to my TED talk.
Ease is the term for the difference between the dimensions of a garment and the body dimensions of the person the garment is meant to fit. Ease is different from size: consider a pair of skinny jeans vs a pair of straight-cut slacks. The same person could own both garments in the same size and both would fit them, but the skinny jeans have a lot less ease, because they're more form-fitting.
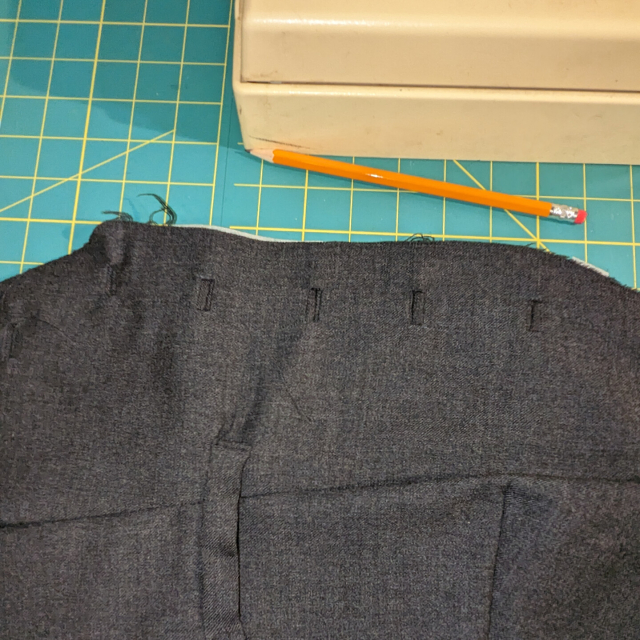
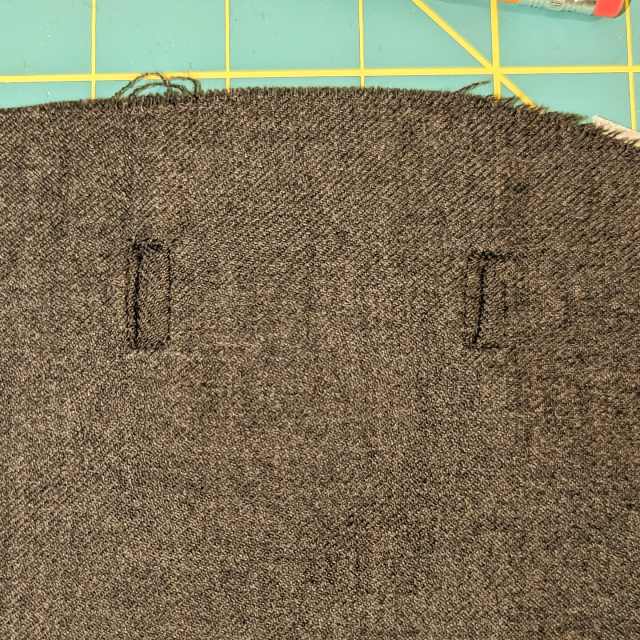
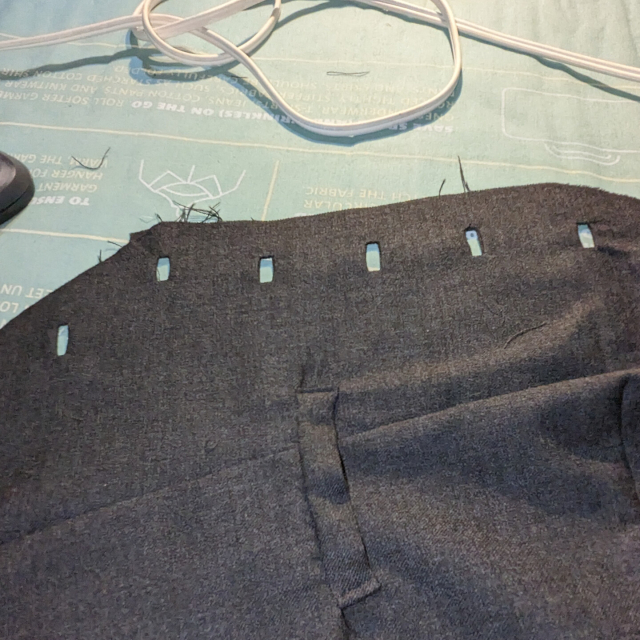
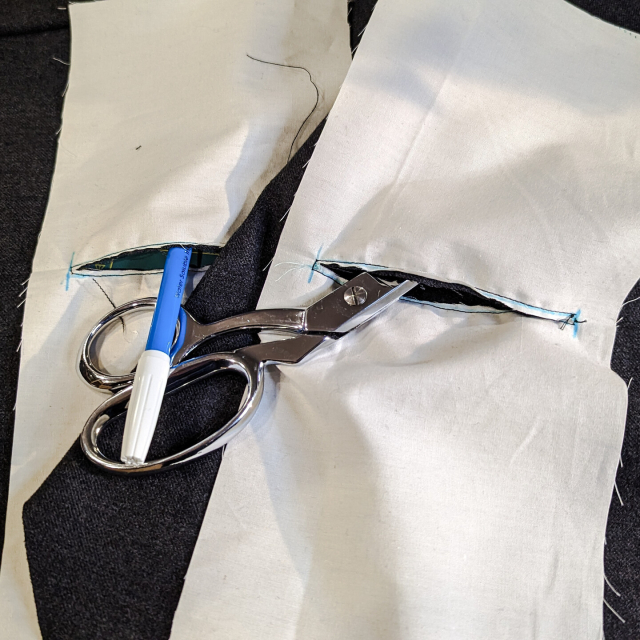
After slashing the button holes, I:
1. Pushed the rectangular linings through to the back,
2. Pressed, with lots of steam.
3. Turned the piece right side up and pressed again.
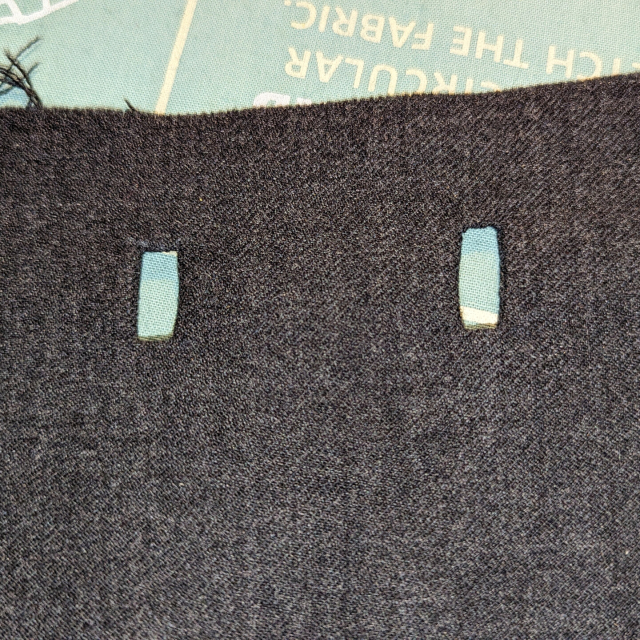
4. A detail shot of some of the pressed button holes.
